My project for APP is going to be a low polygonal character model that can be implemented into a video game without being a large performance sink. This project is going to require me to maintain silhouettes with minimal polygons; The goal is to make all of the detail through sculpting and projecting a normal map onto the model. Afterwards I may look into diffuse maps and rigging if I have the time. The reason I am going with a project like this is because I want to challenge myself and learn all the different facets of CGI and modeling so that I can better understand the jobs and expectations co-workers would have of me if I was assigned any particular task.
Below are pictures walking through my progress up till now.

3/5/2019
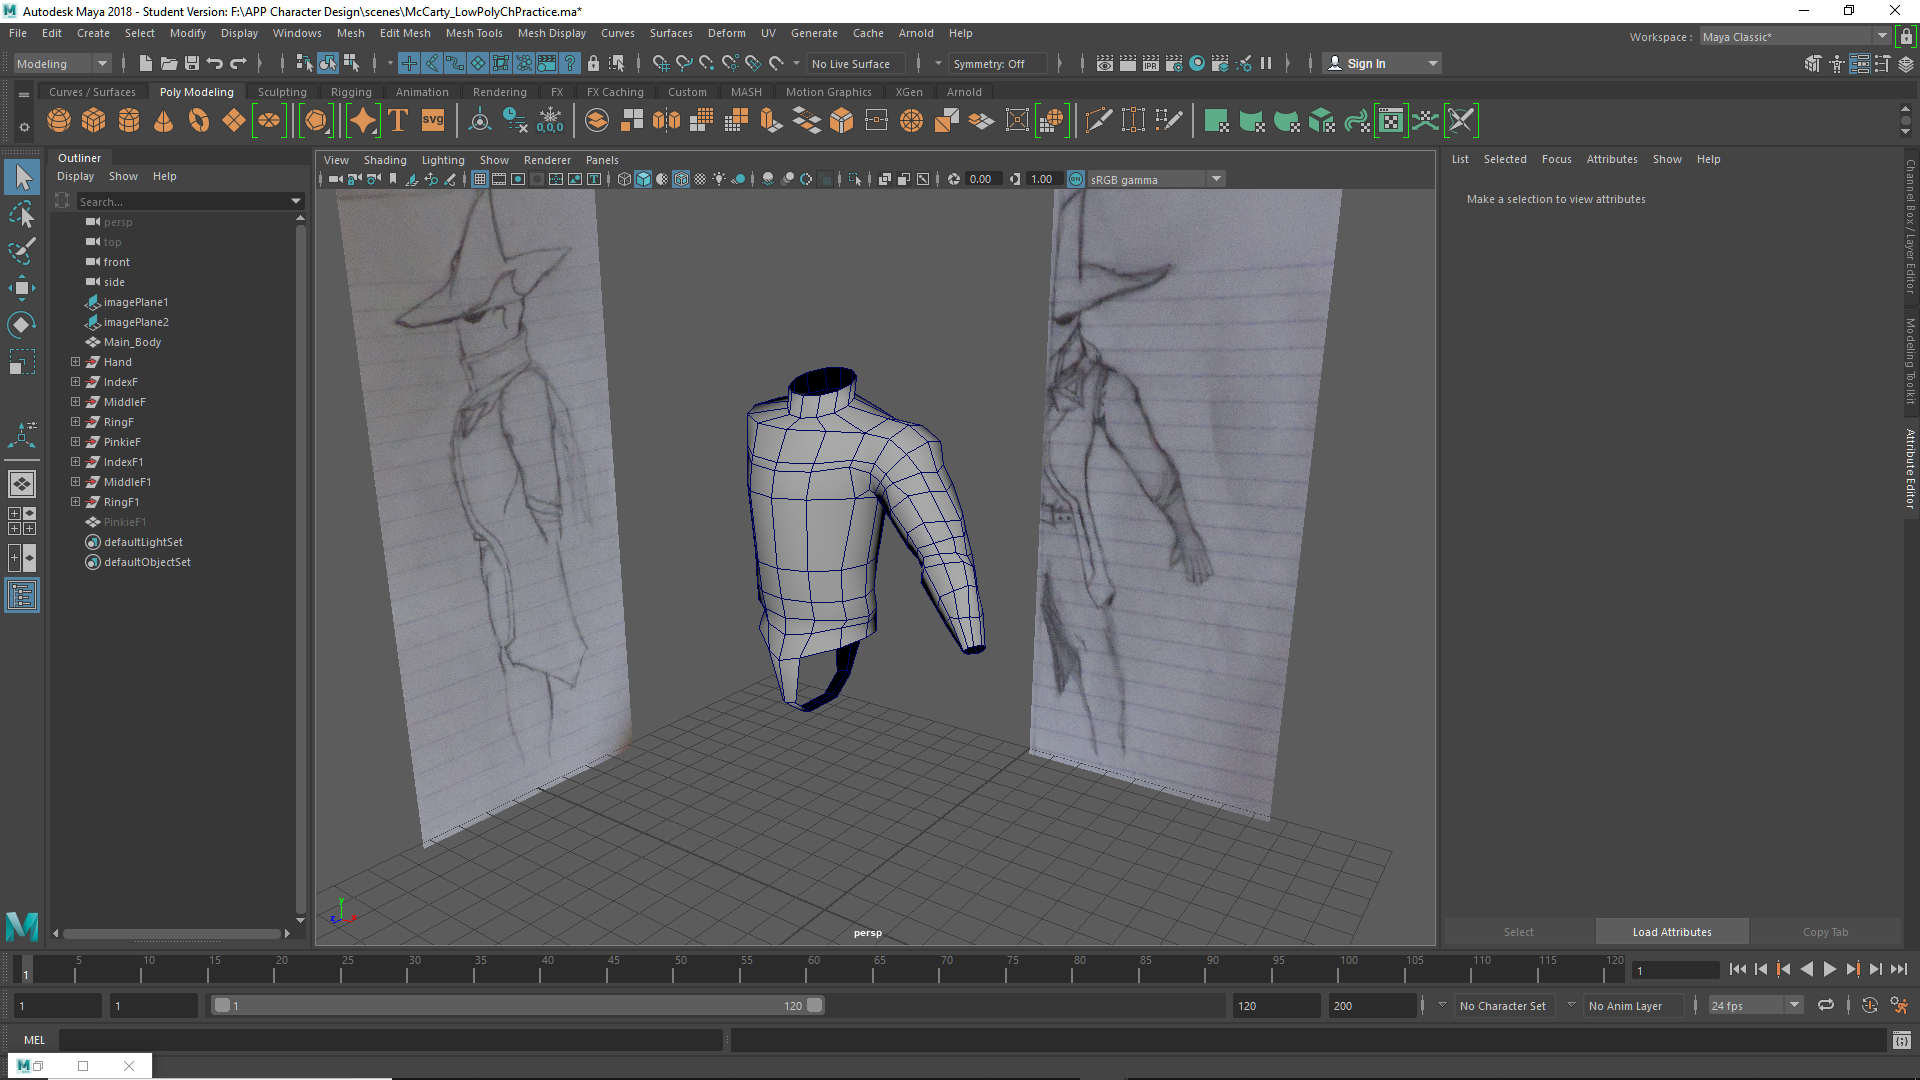
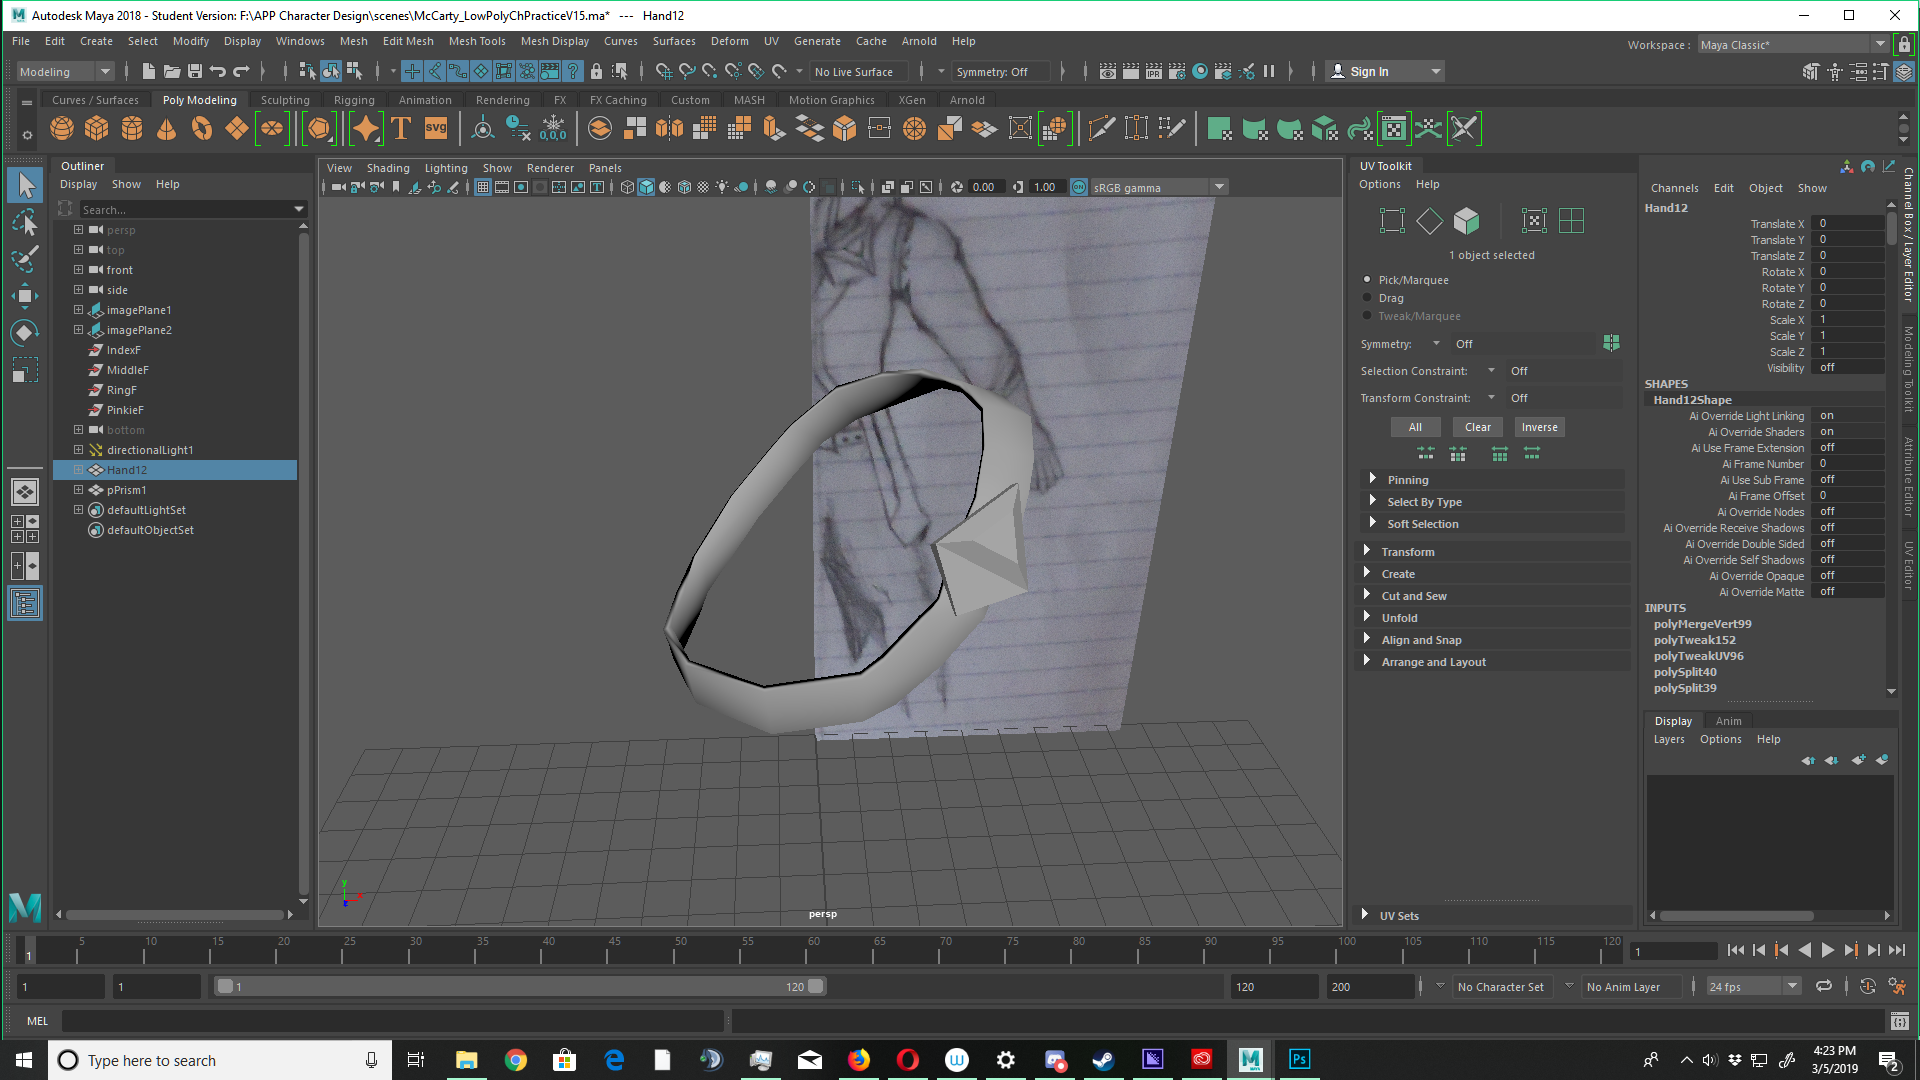
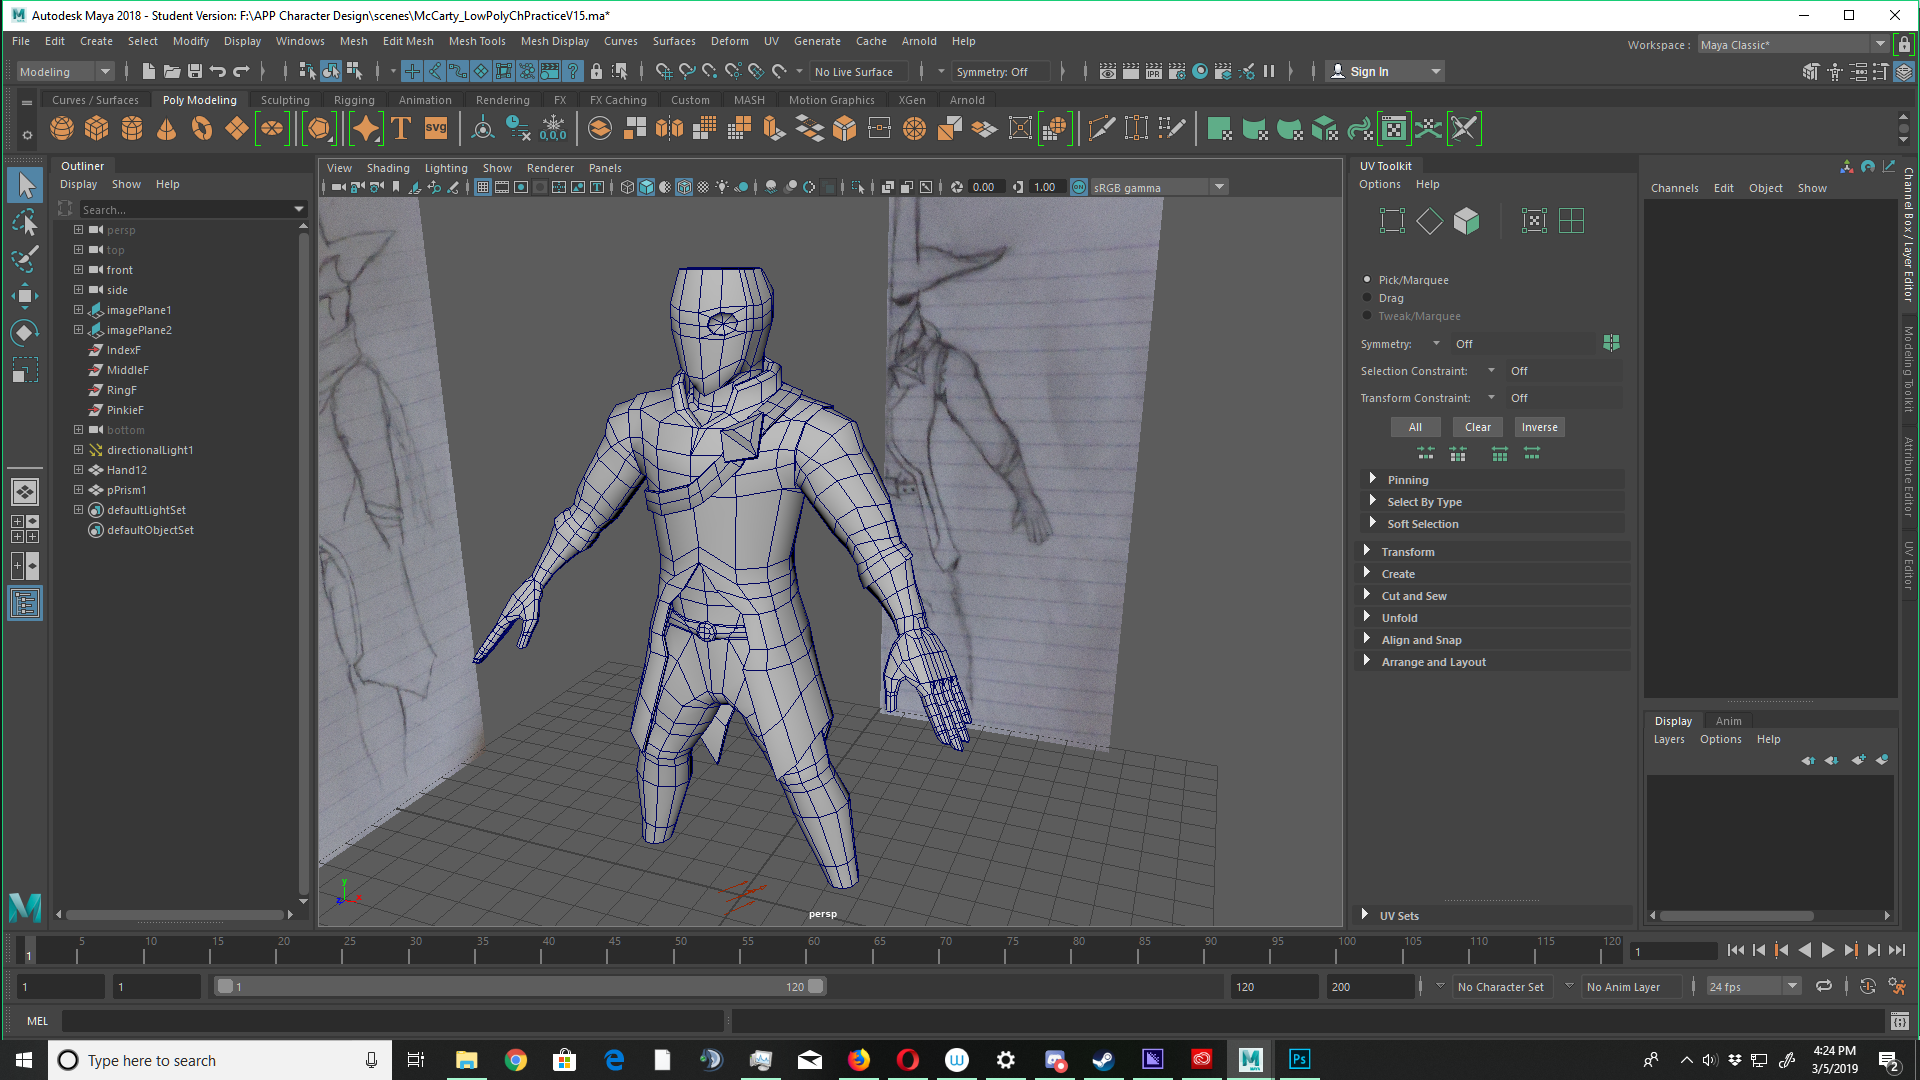
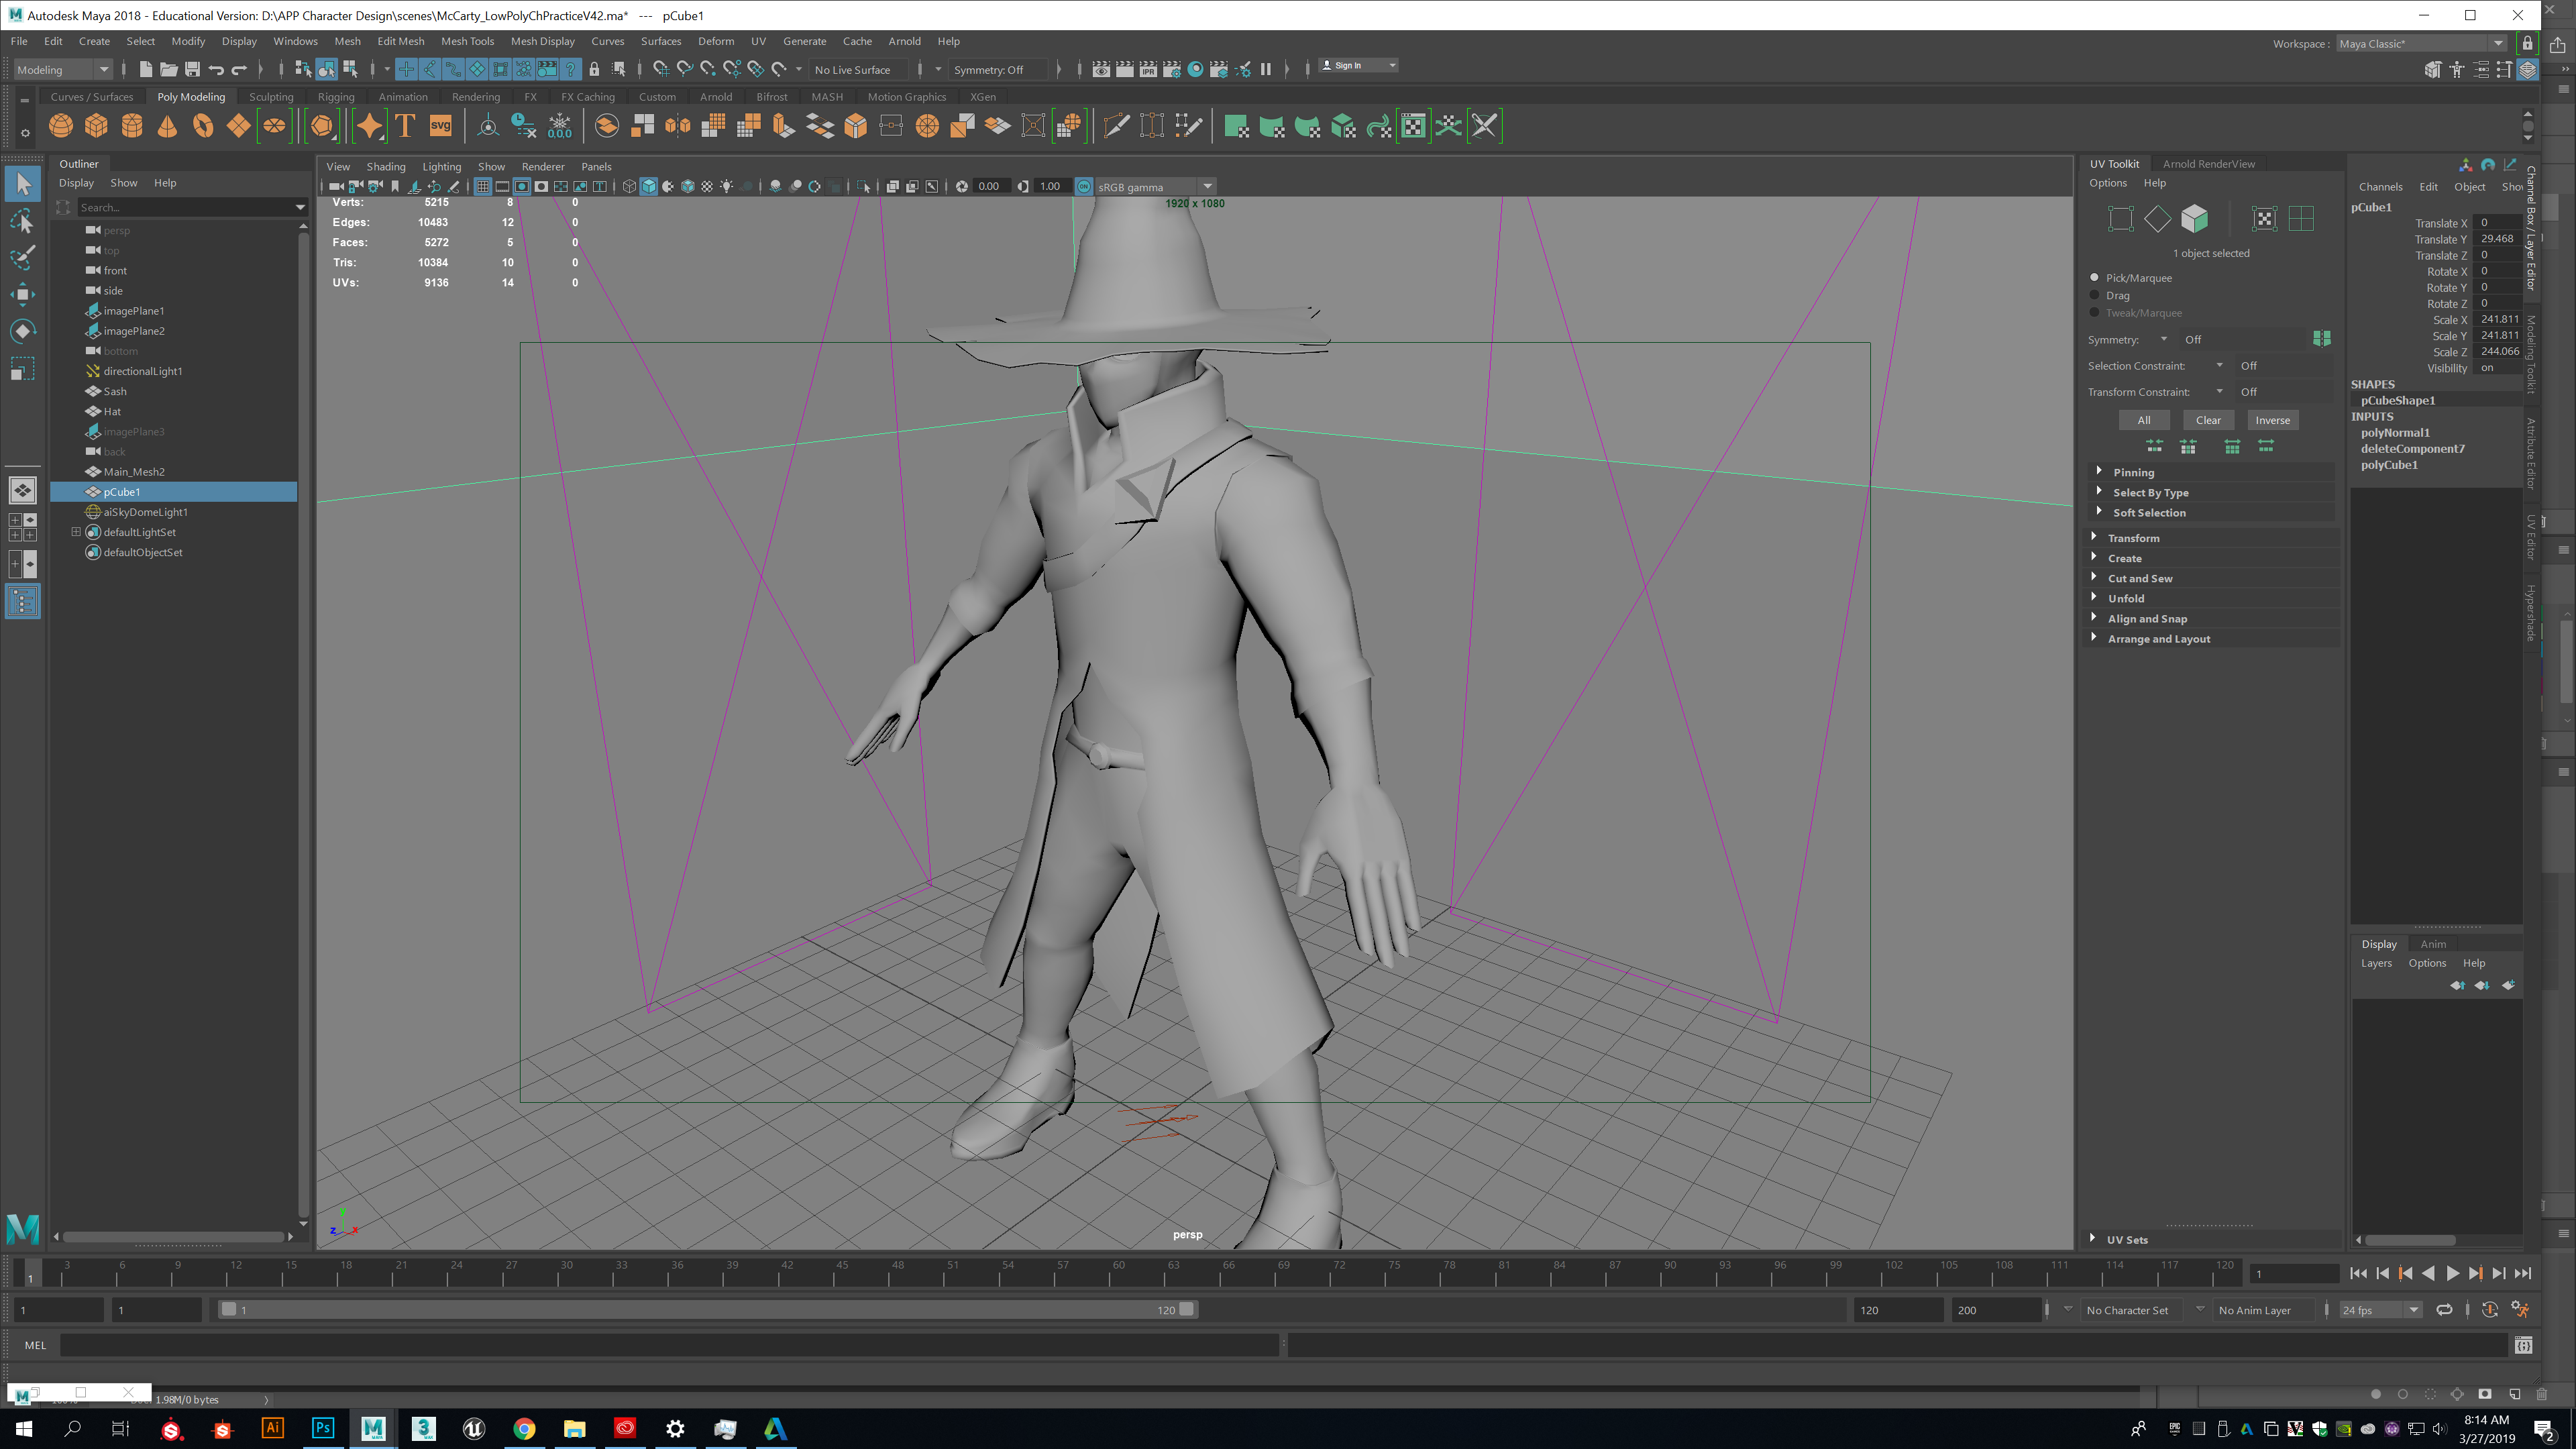
my goal was to be done with this character model by week 6; Unfortunately, I have fallen behind due to projects coming out from all 4 of my other classes due to the midterm coming up. I have made some progress and I merely need two more pieces of the clothing to be finished, here are some screen shots in order.


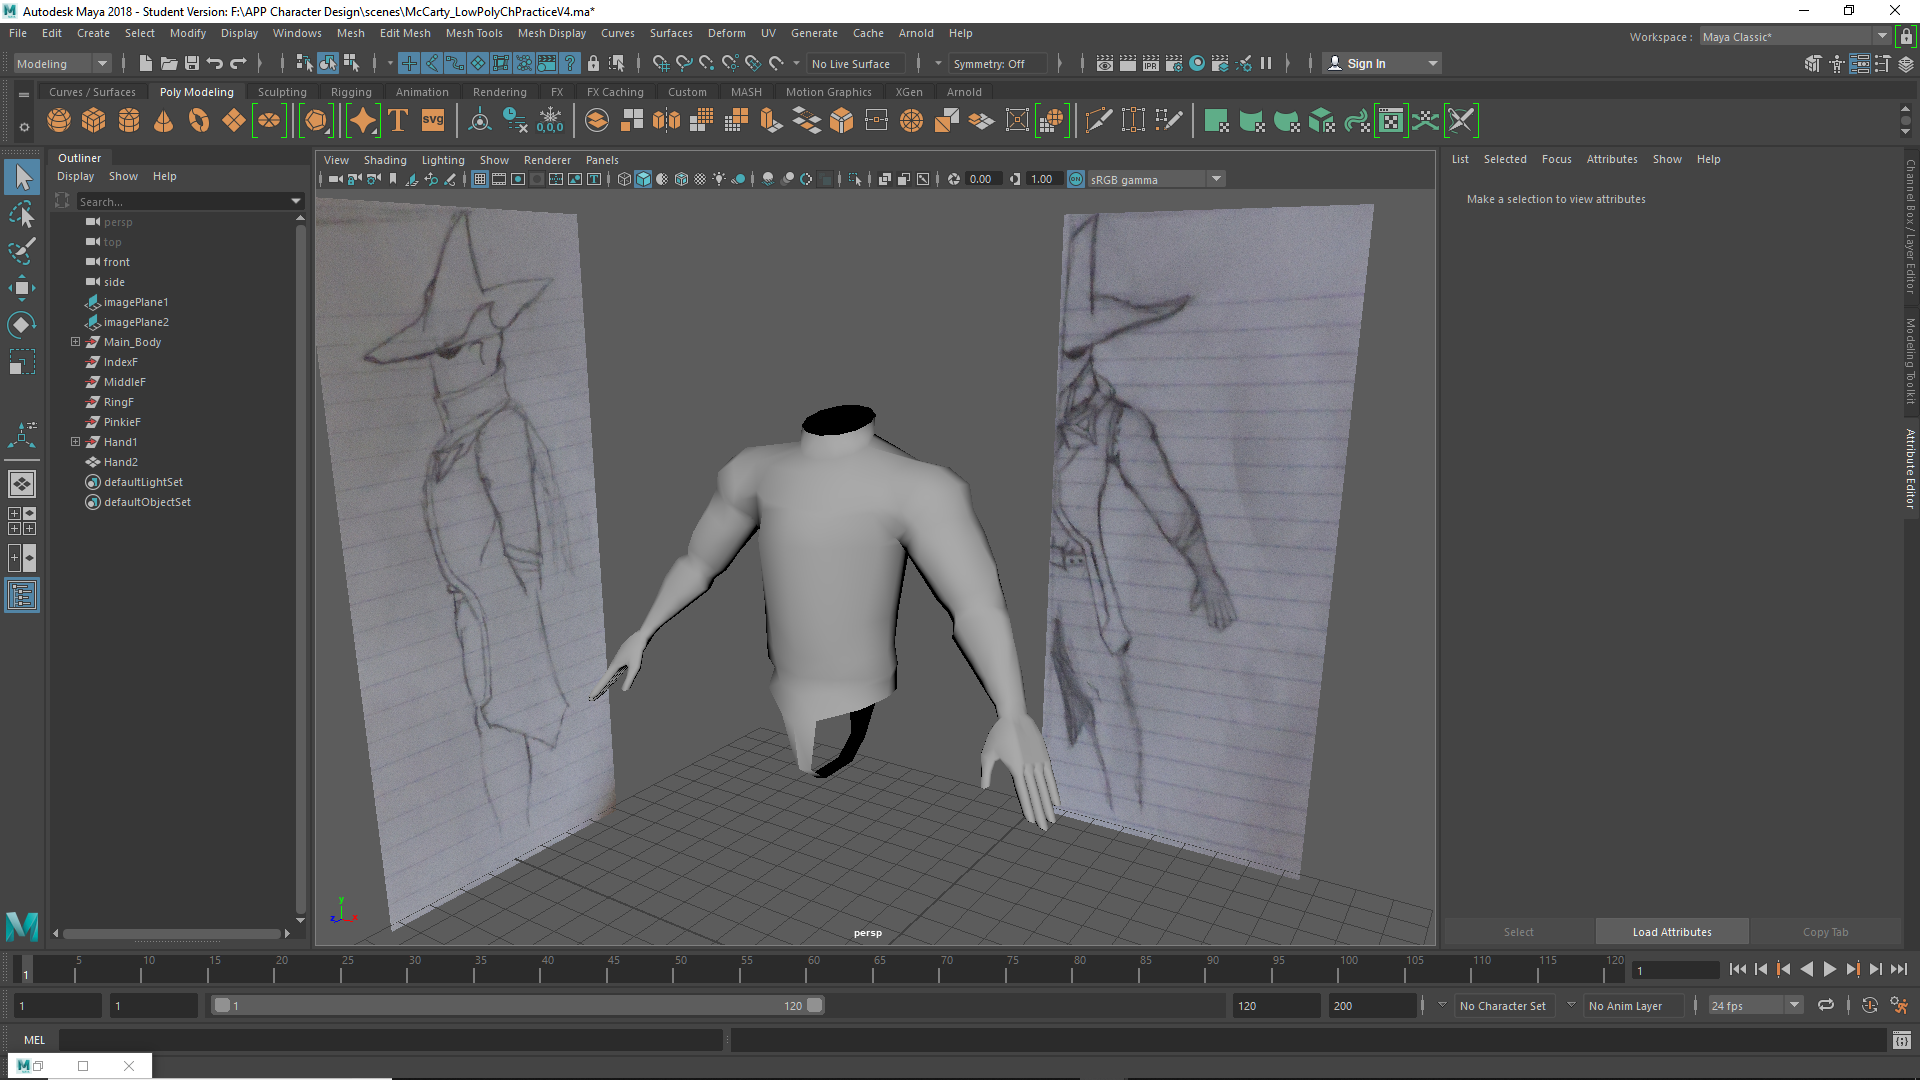
This my second attempt at an actual head, that is the part I would like the most criticism for. Below is the process to the completed model with all of the article of clothing present.


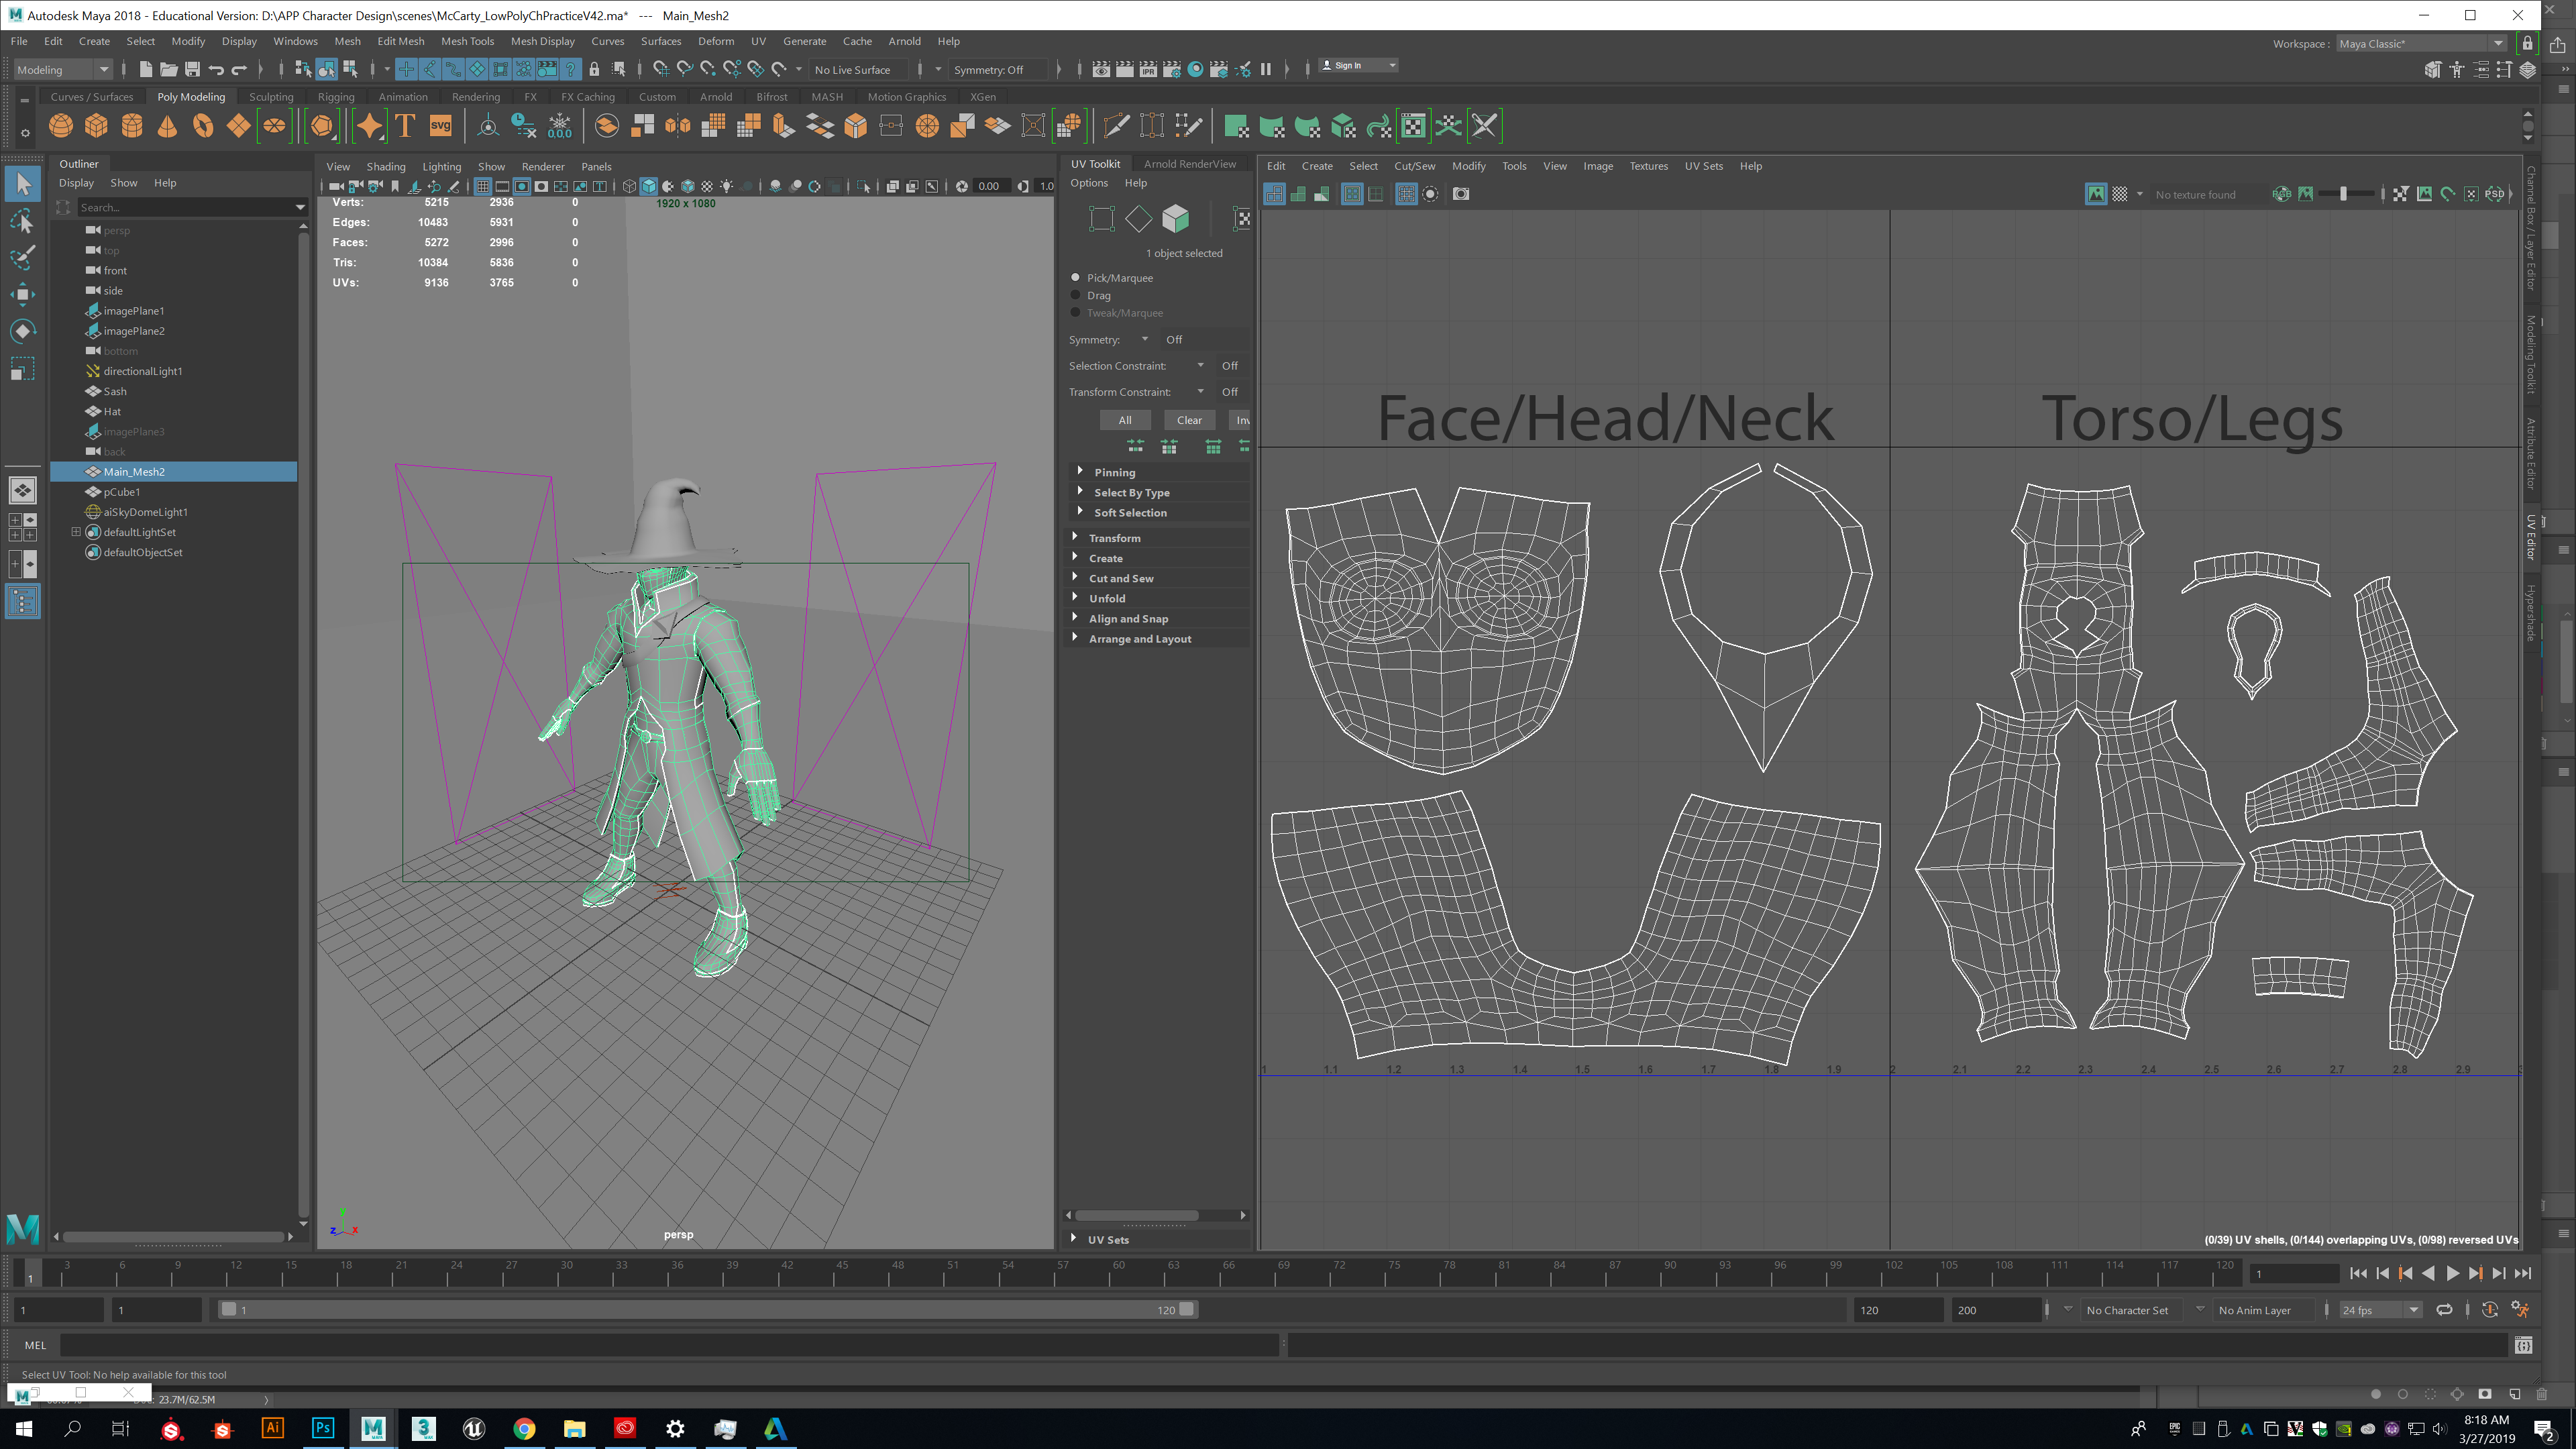
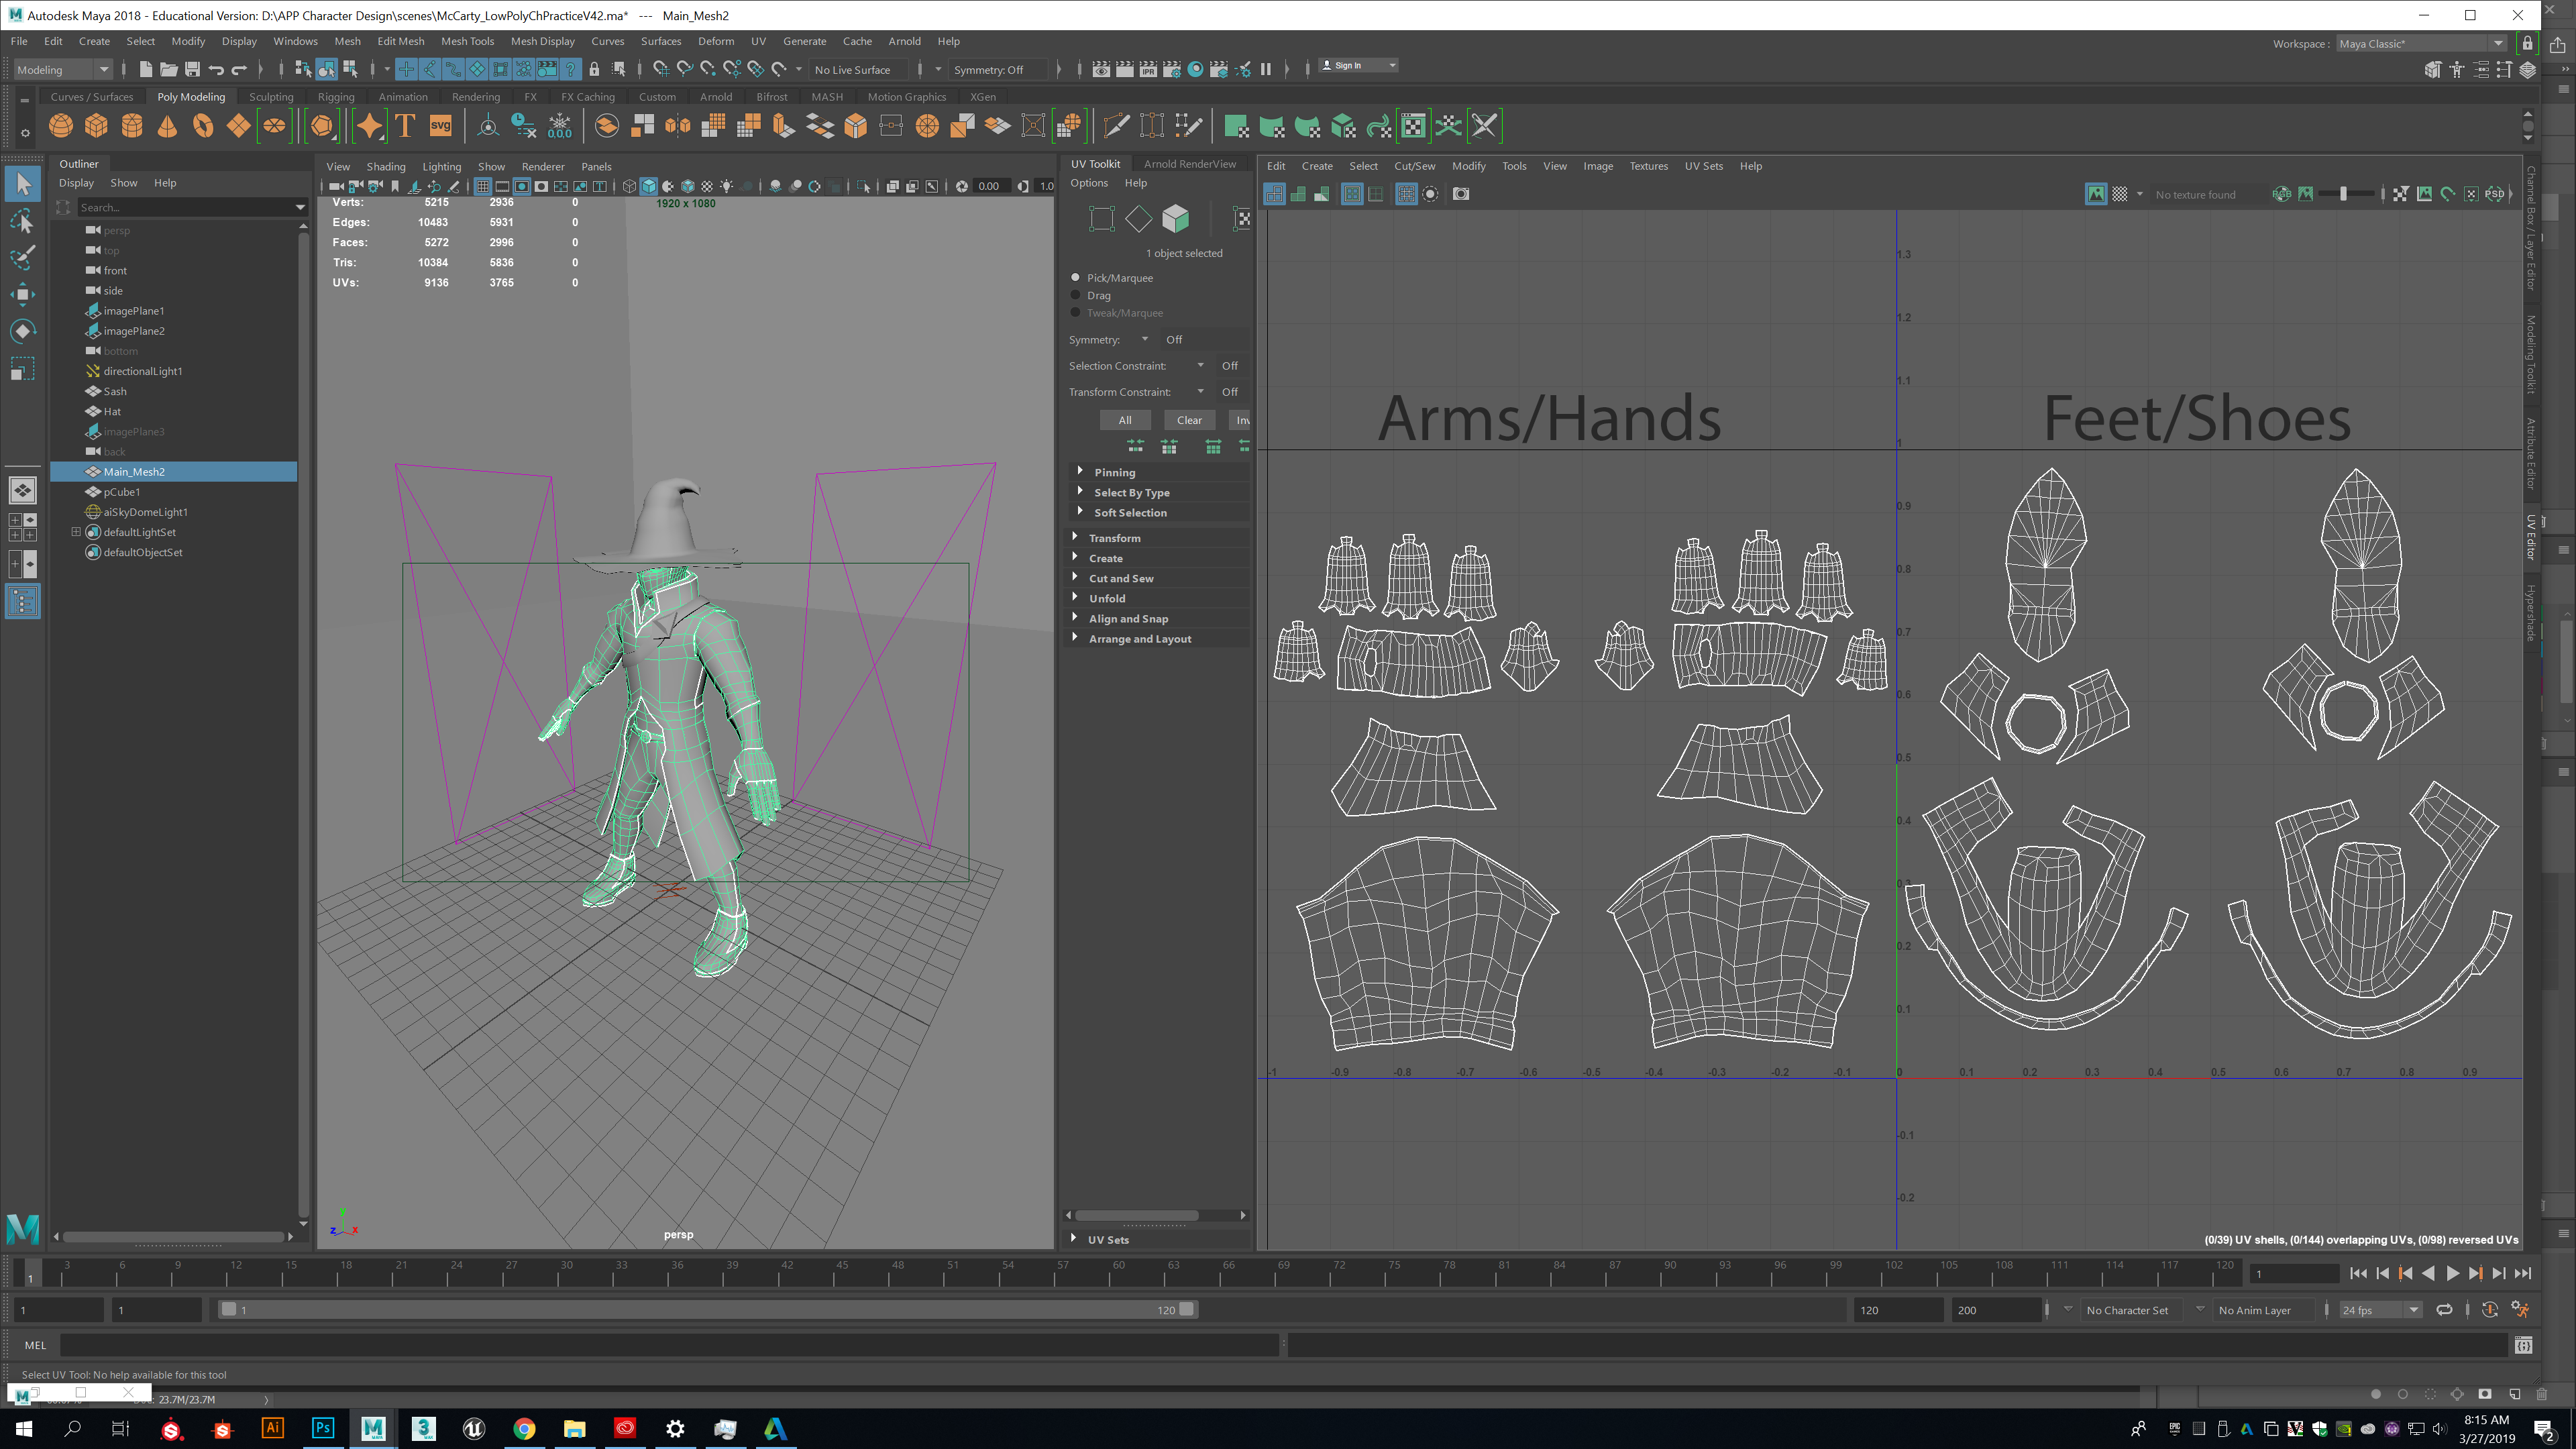
With the model done the next step is to unwrap the Uv's. I need to do this because I plan on taking the model into Mudbox in order to generate a normal map that I can place on the object in Maya. I have never used a program like Mudbox before so I need to learn and experiment before I tackle my actual project, I will share my experiences here.
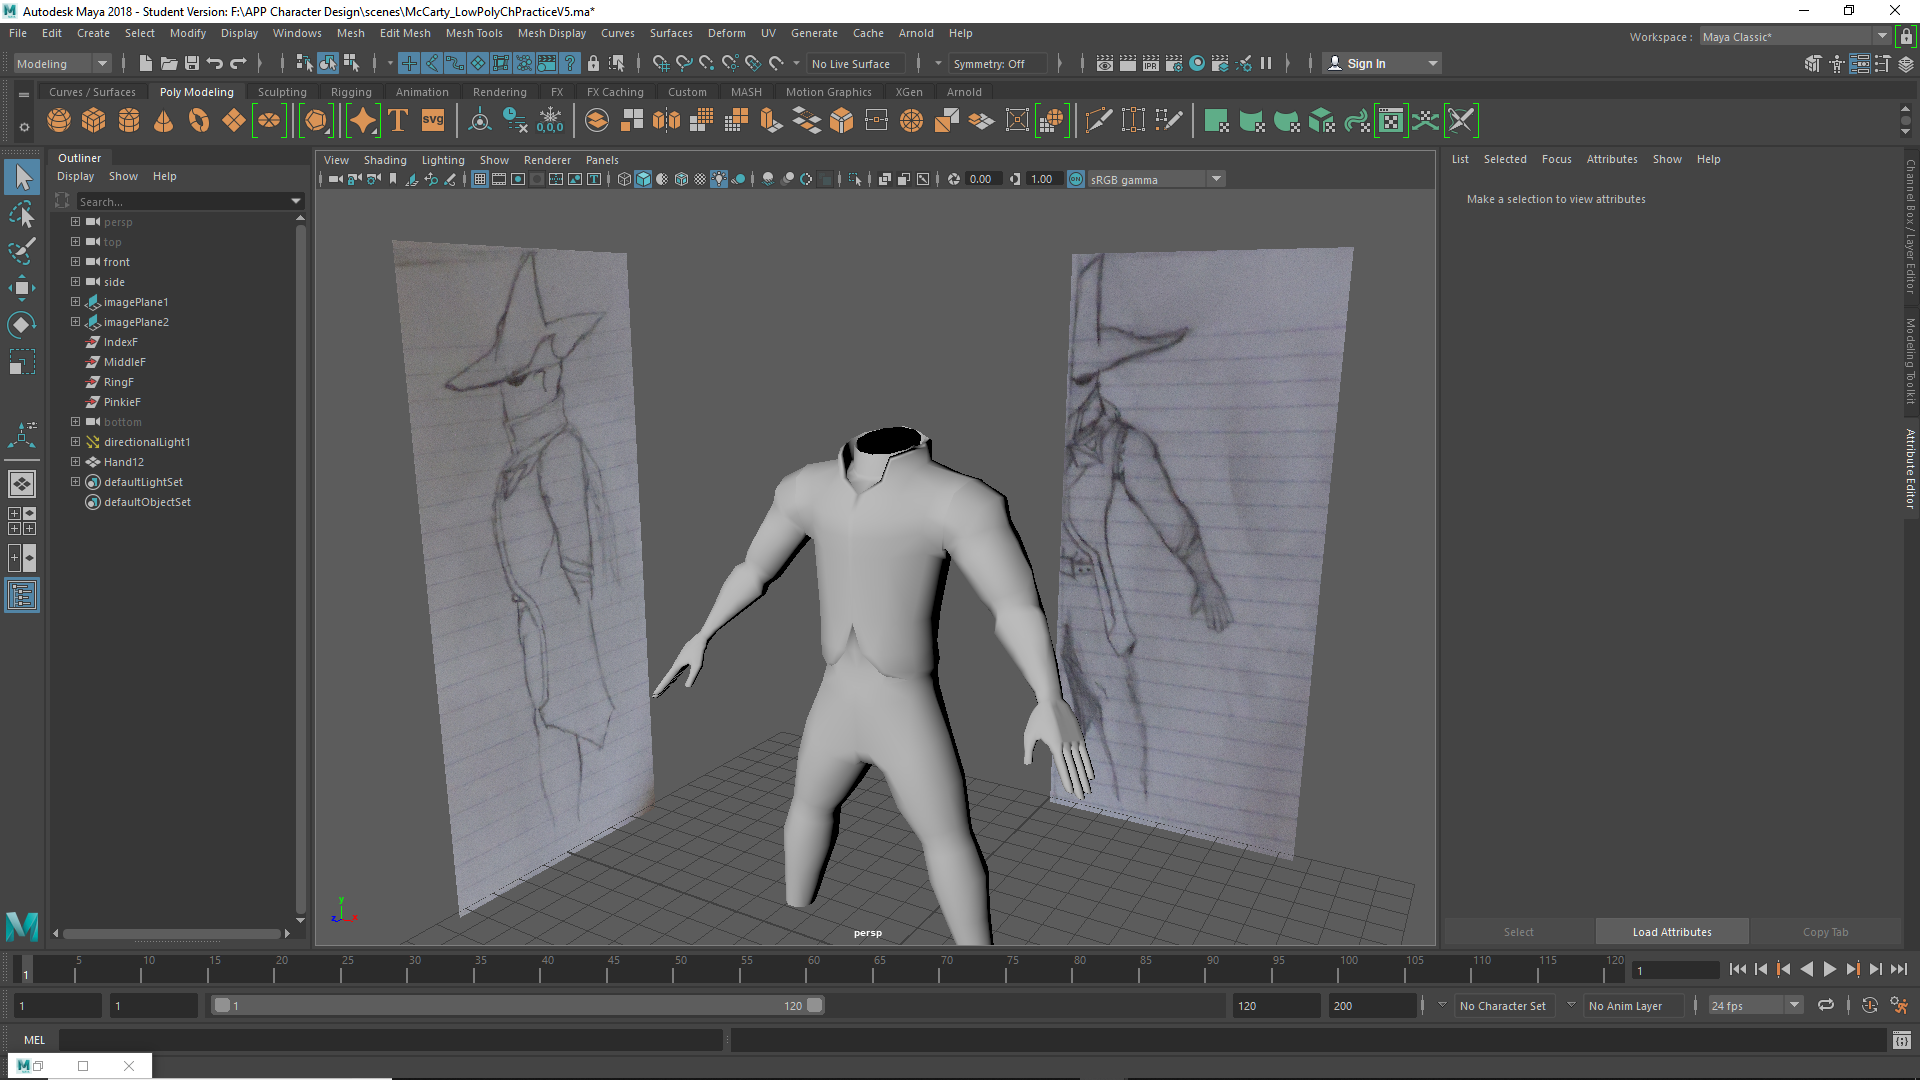
3/27/2019
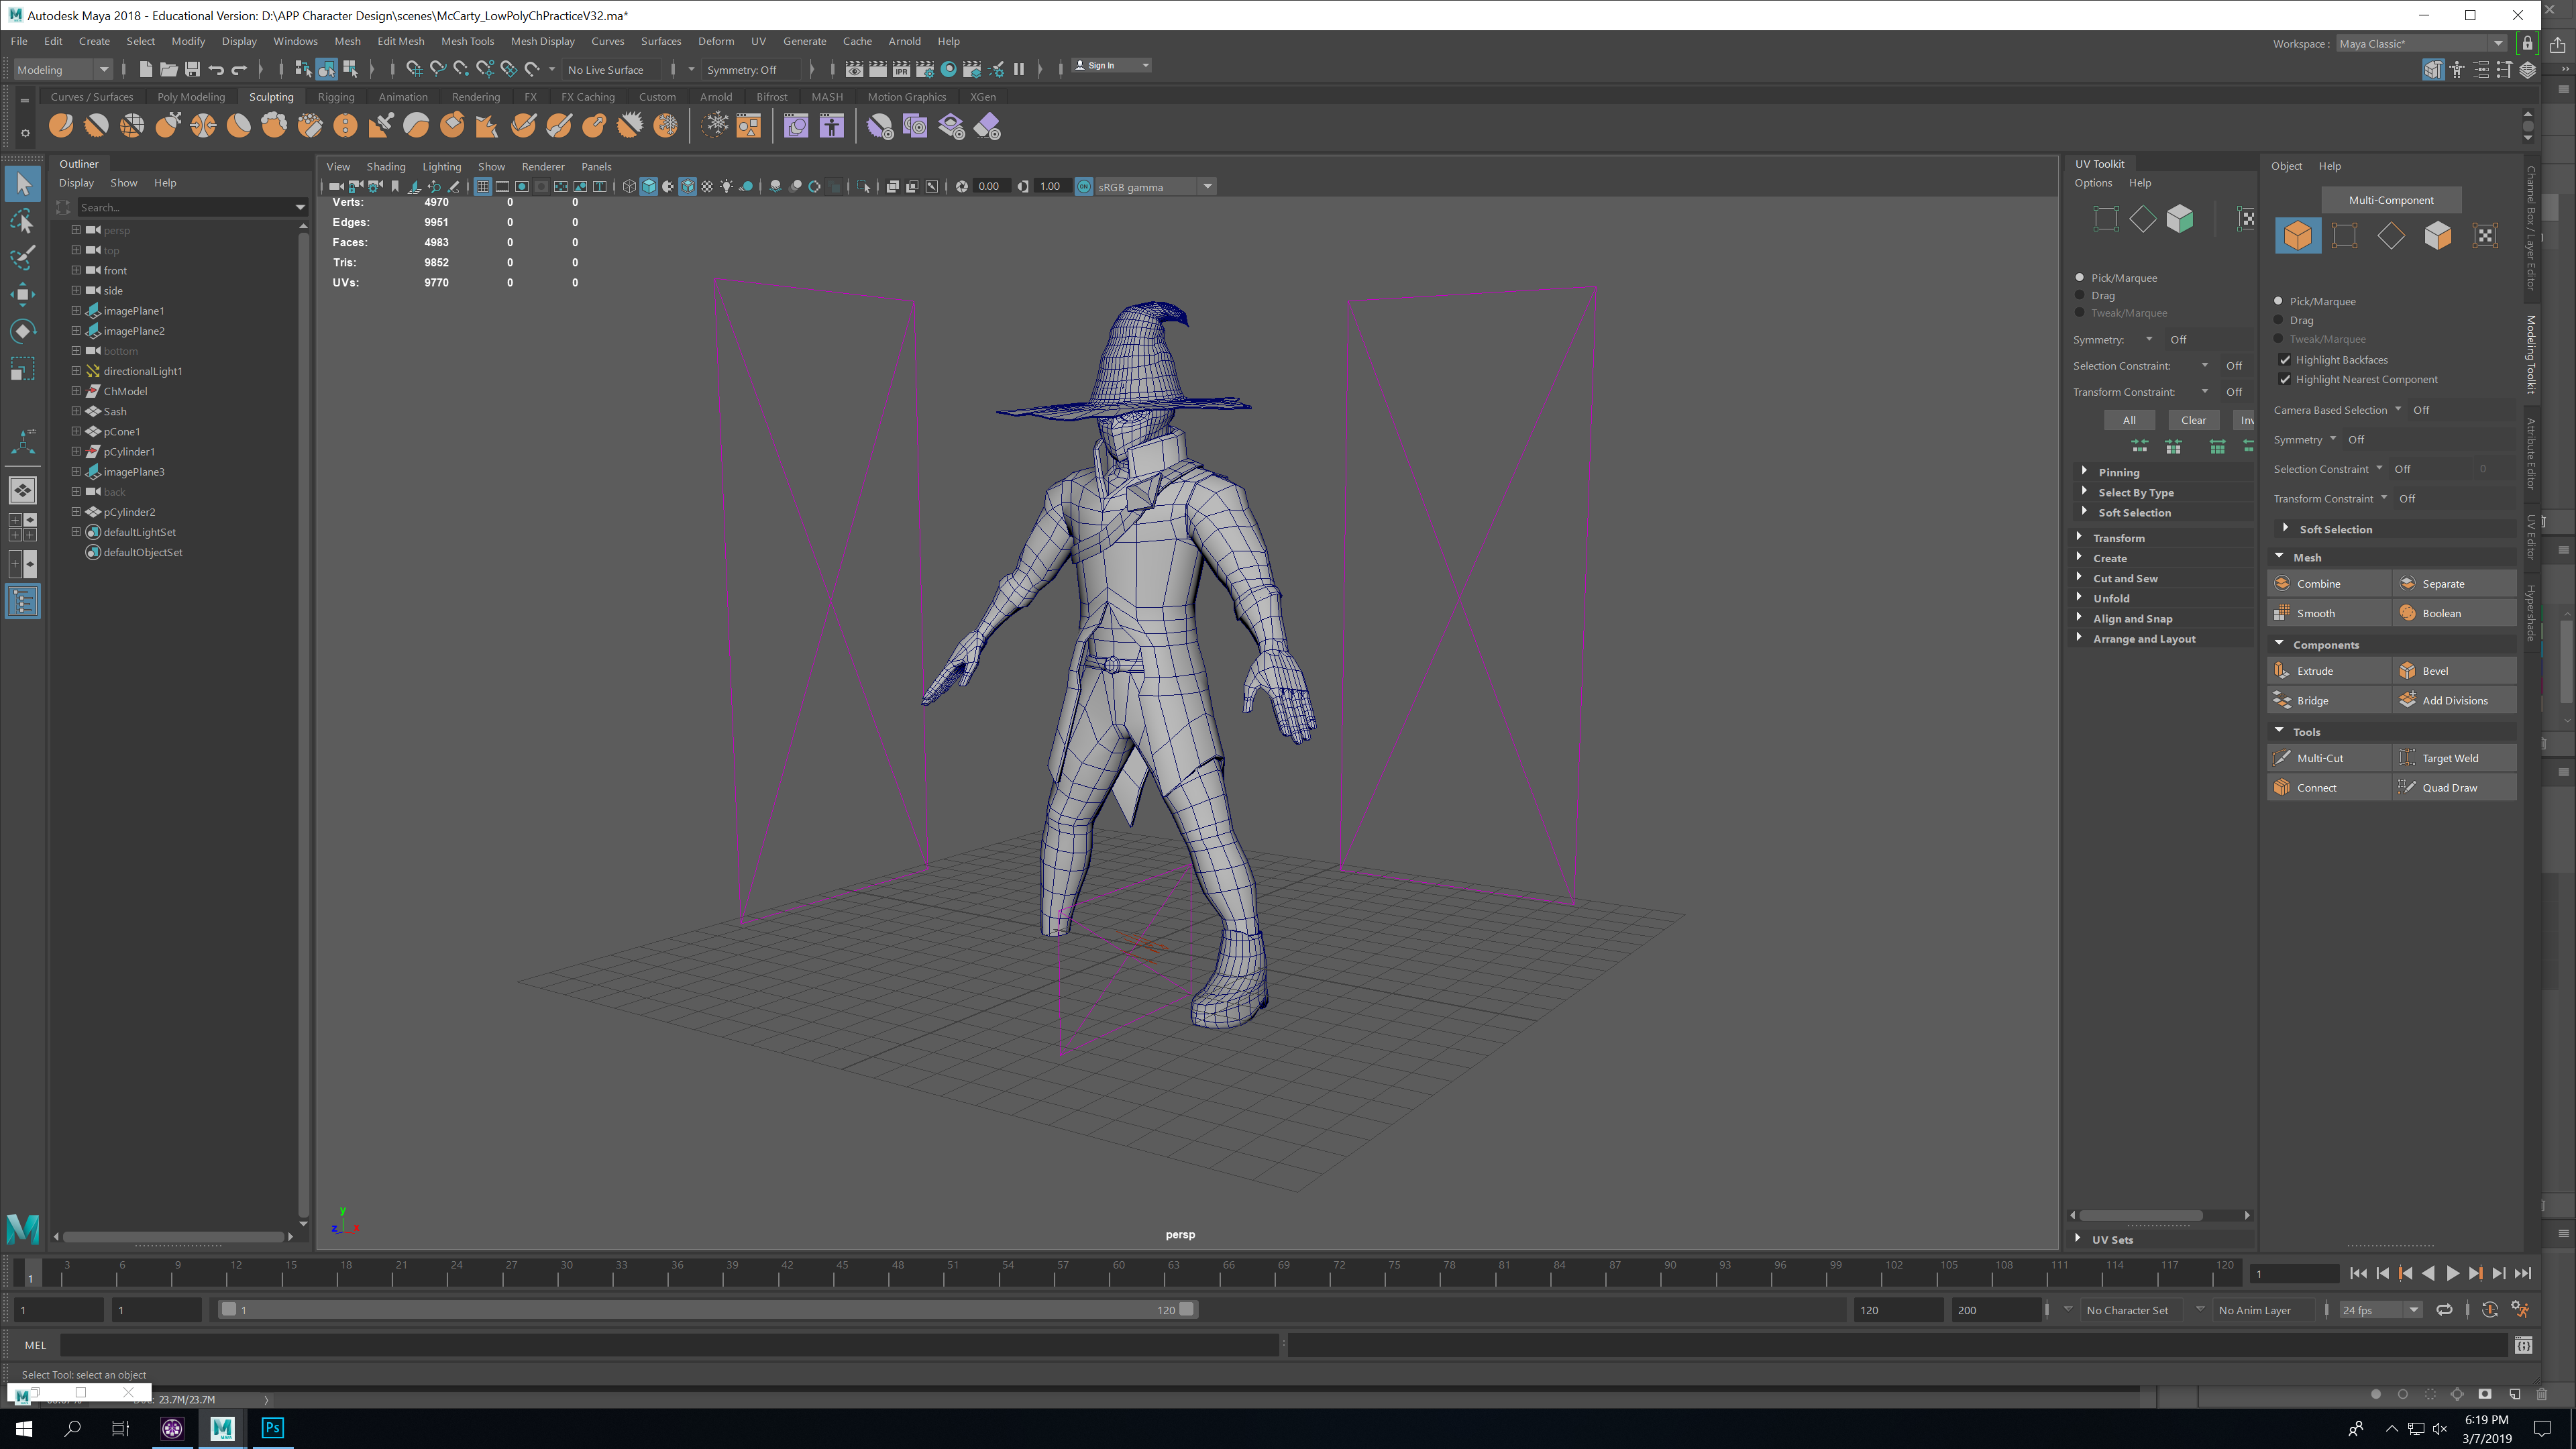
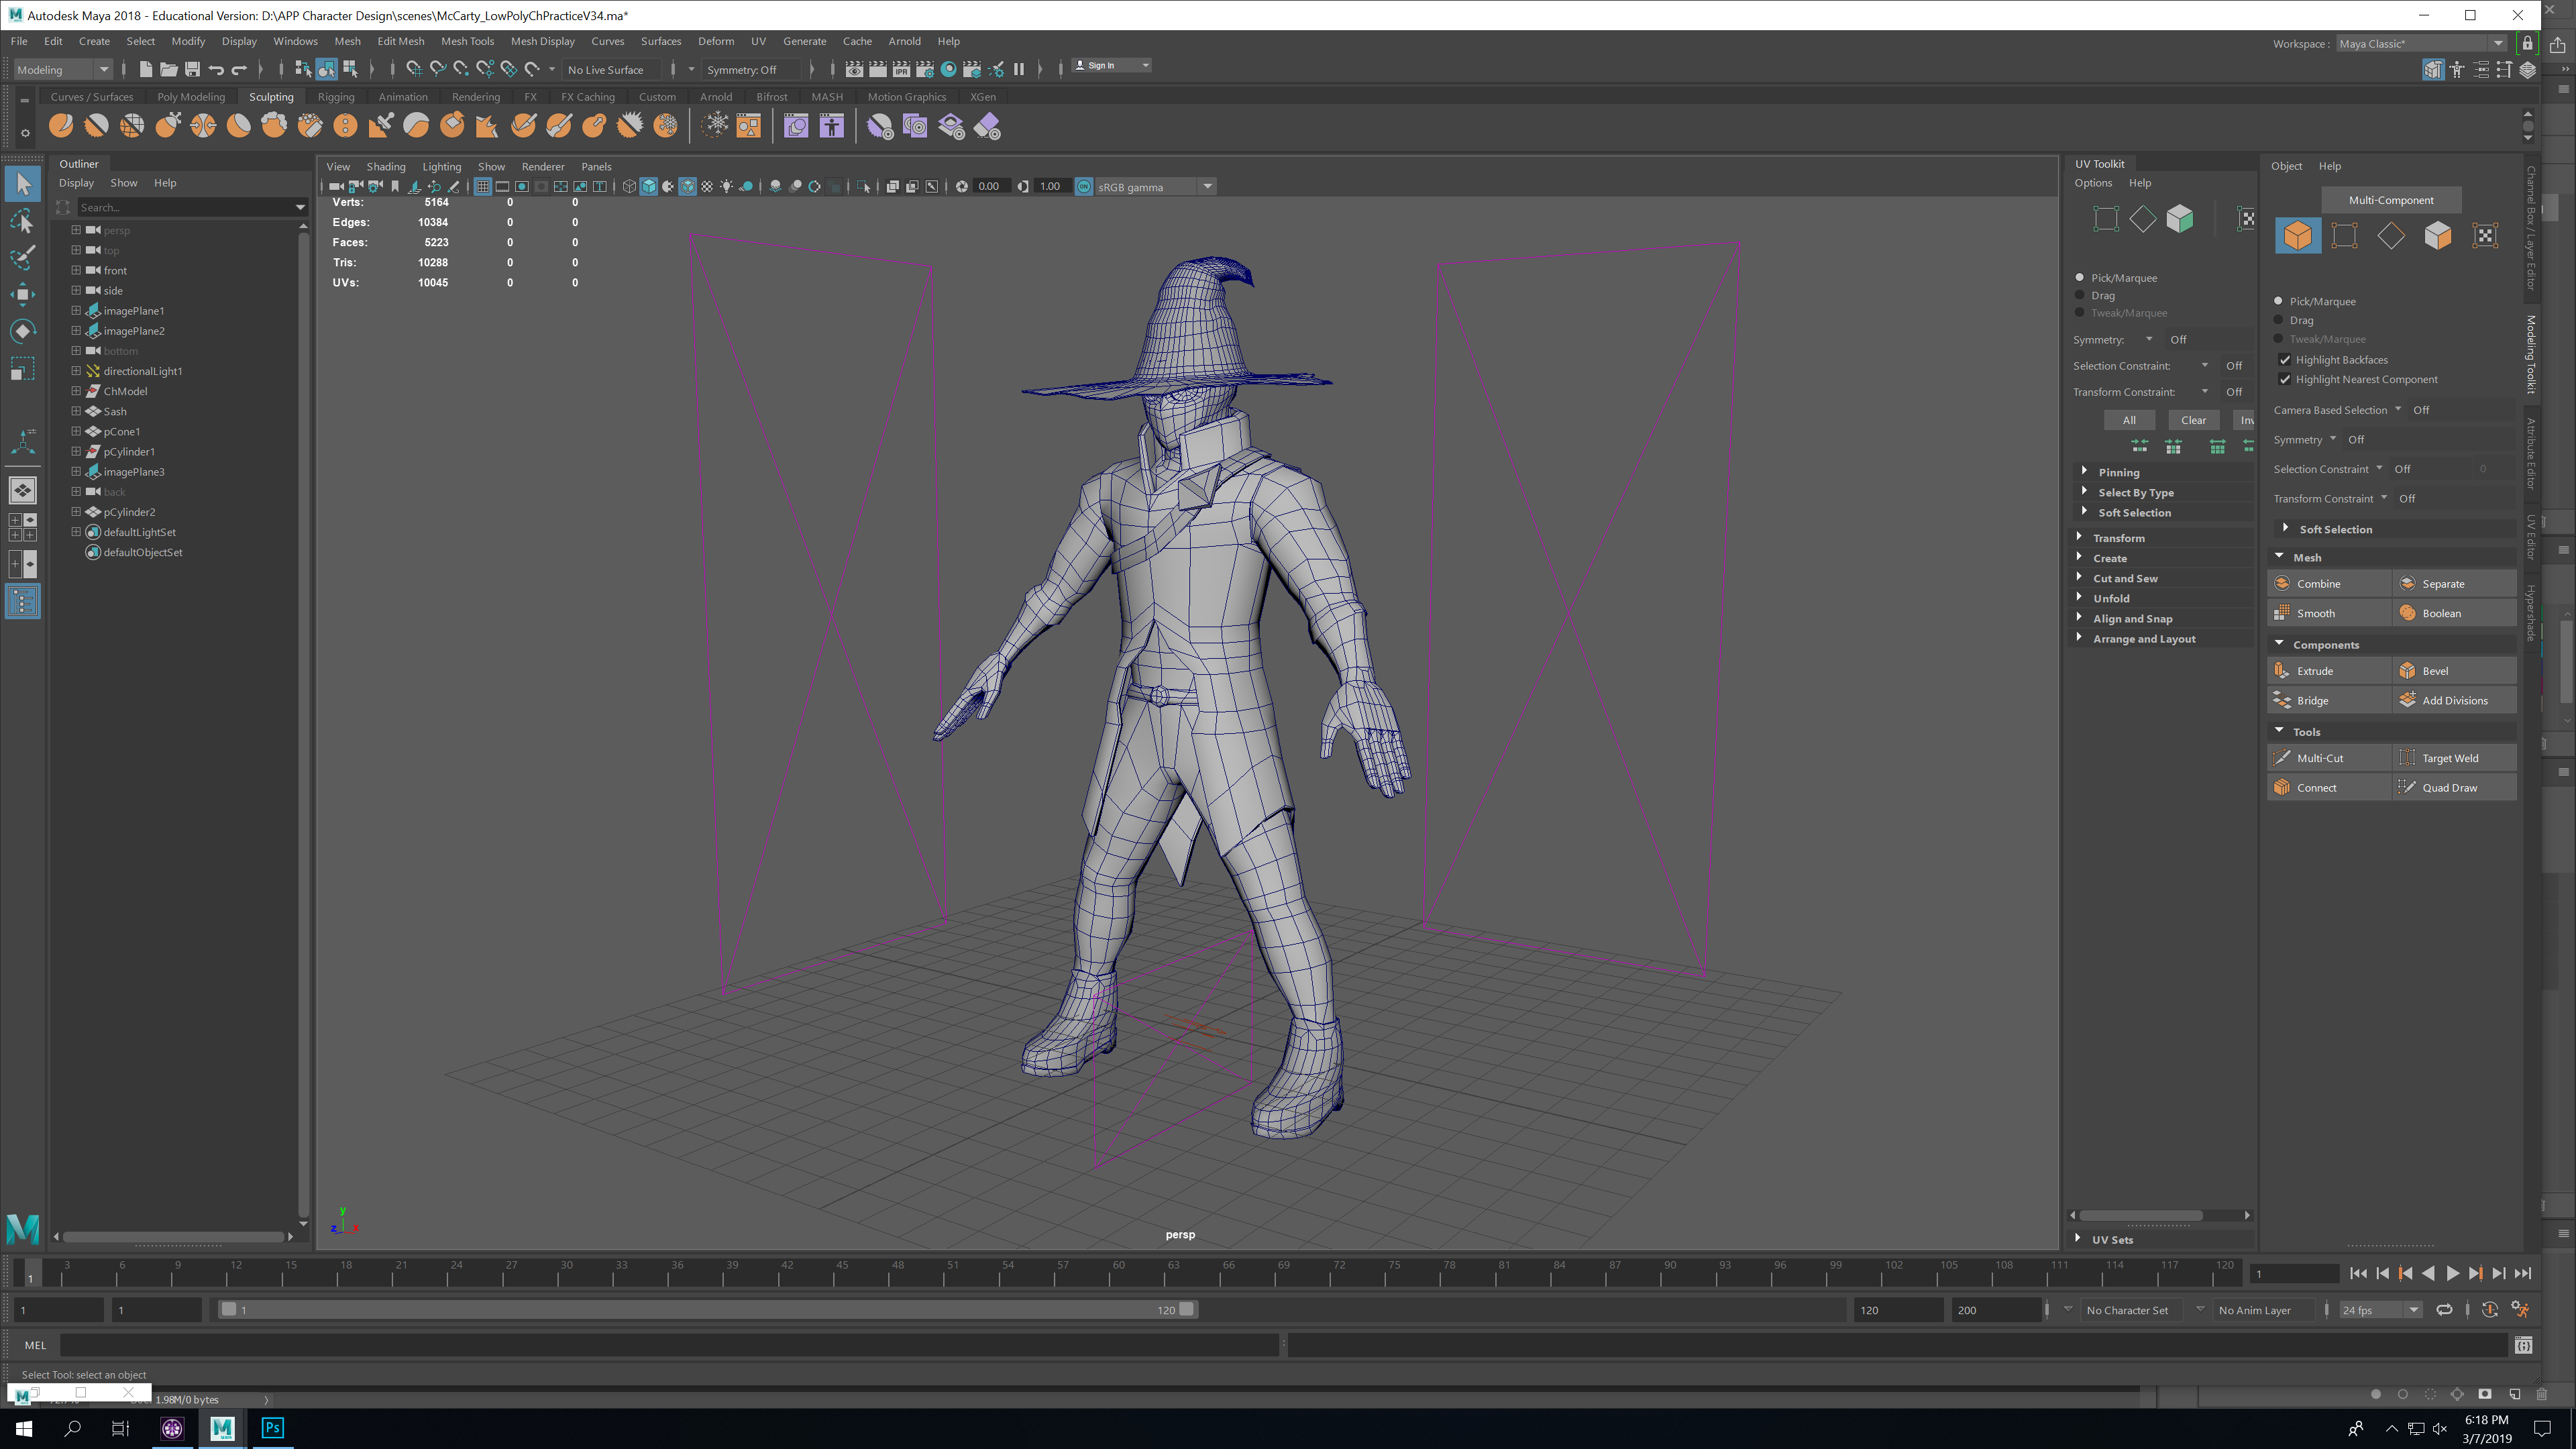
I have tinkered with the proportions of the character and have unwrapped the mesh. There were some issues with the mesh itself when I imported it into Mudbox; However, after speaking about the issue in my presentation I received some advice on how to fix it. The advice worked and the mesh now prompts no errors upon loading inside of Mudbox. Here are some screen shots of what I have so far along with a render of the mesh.

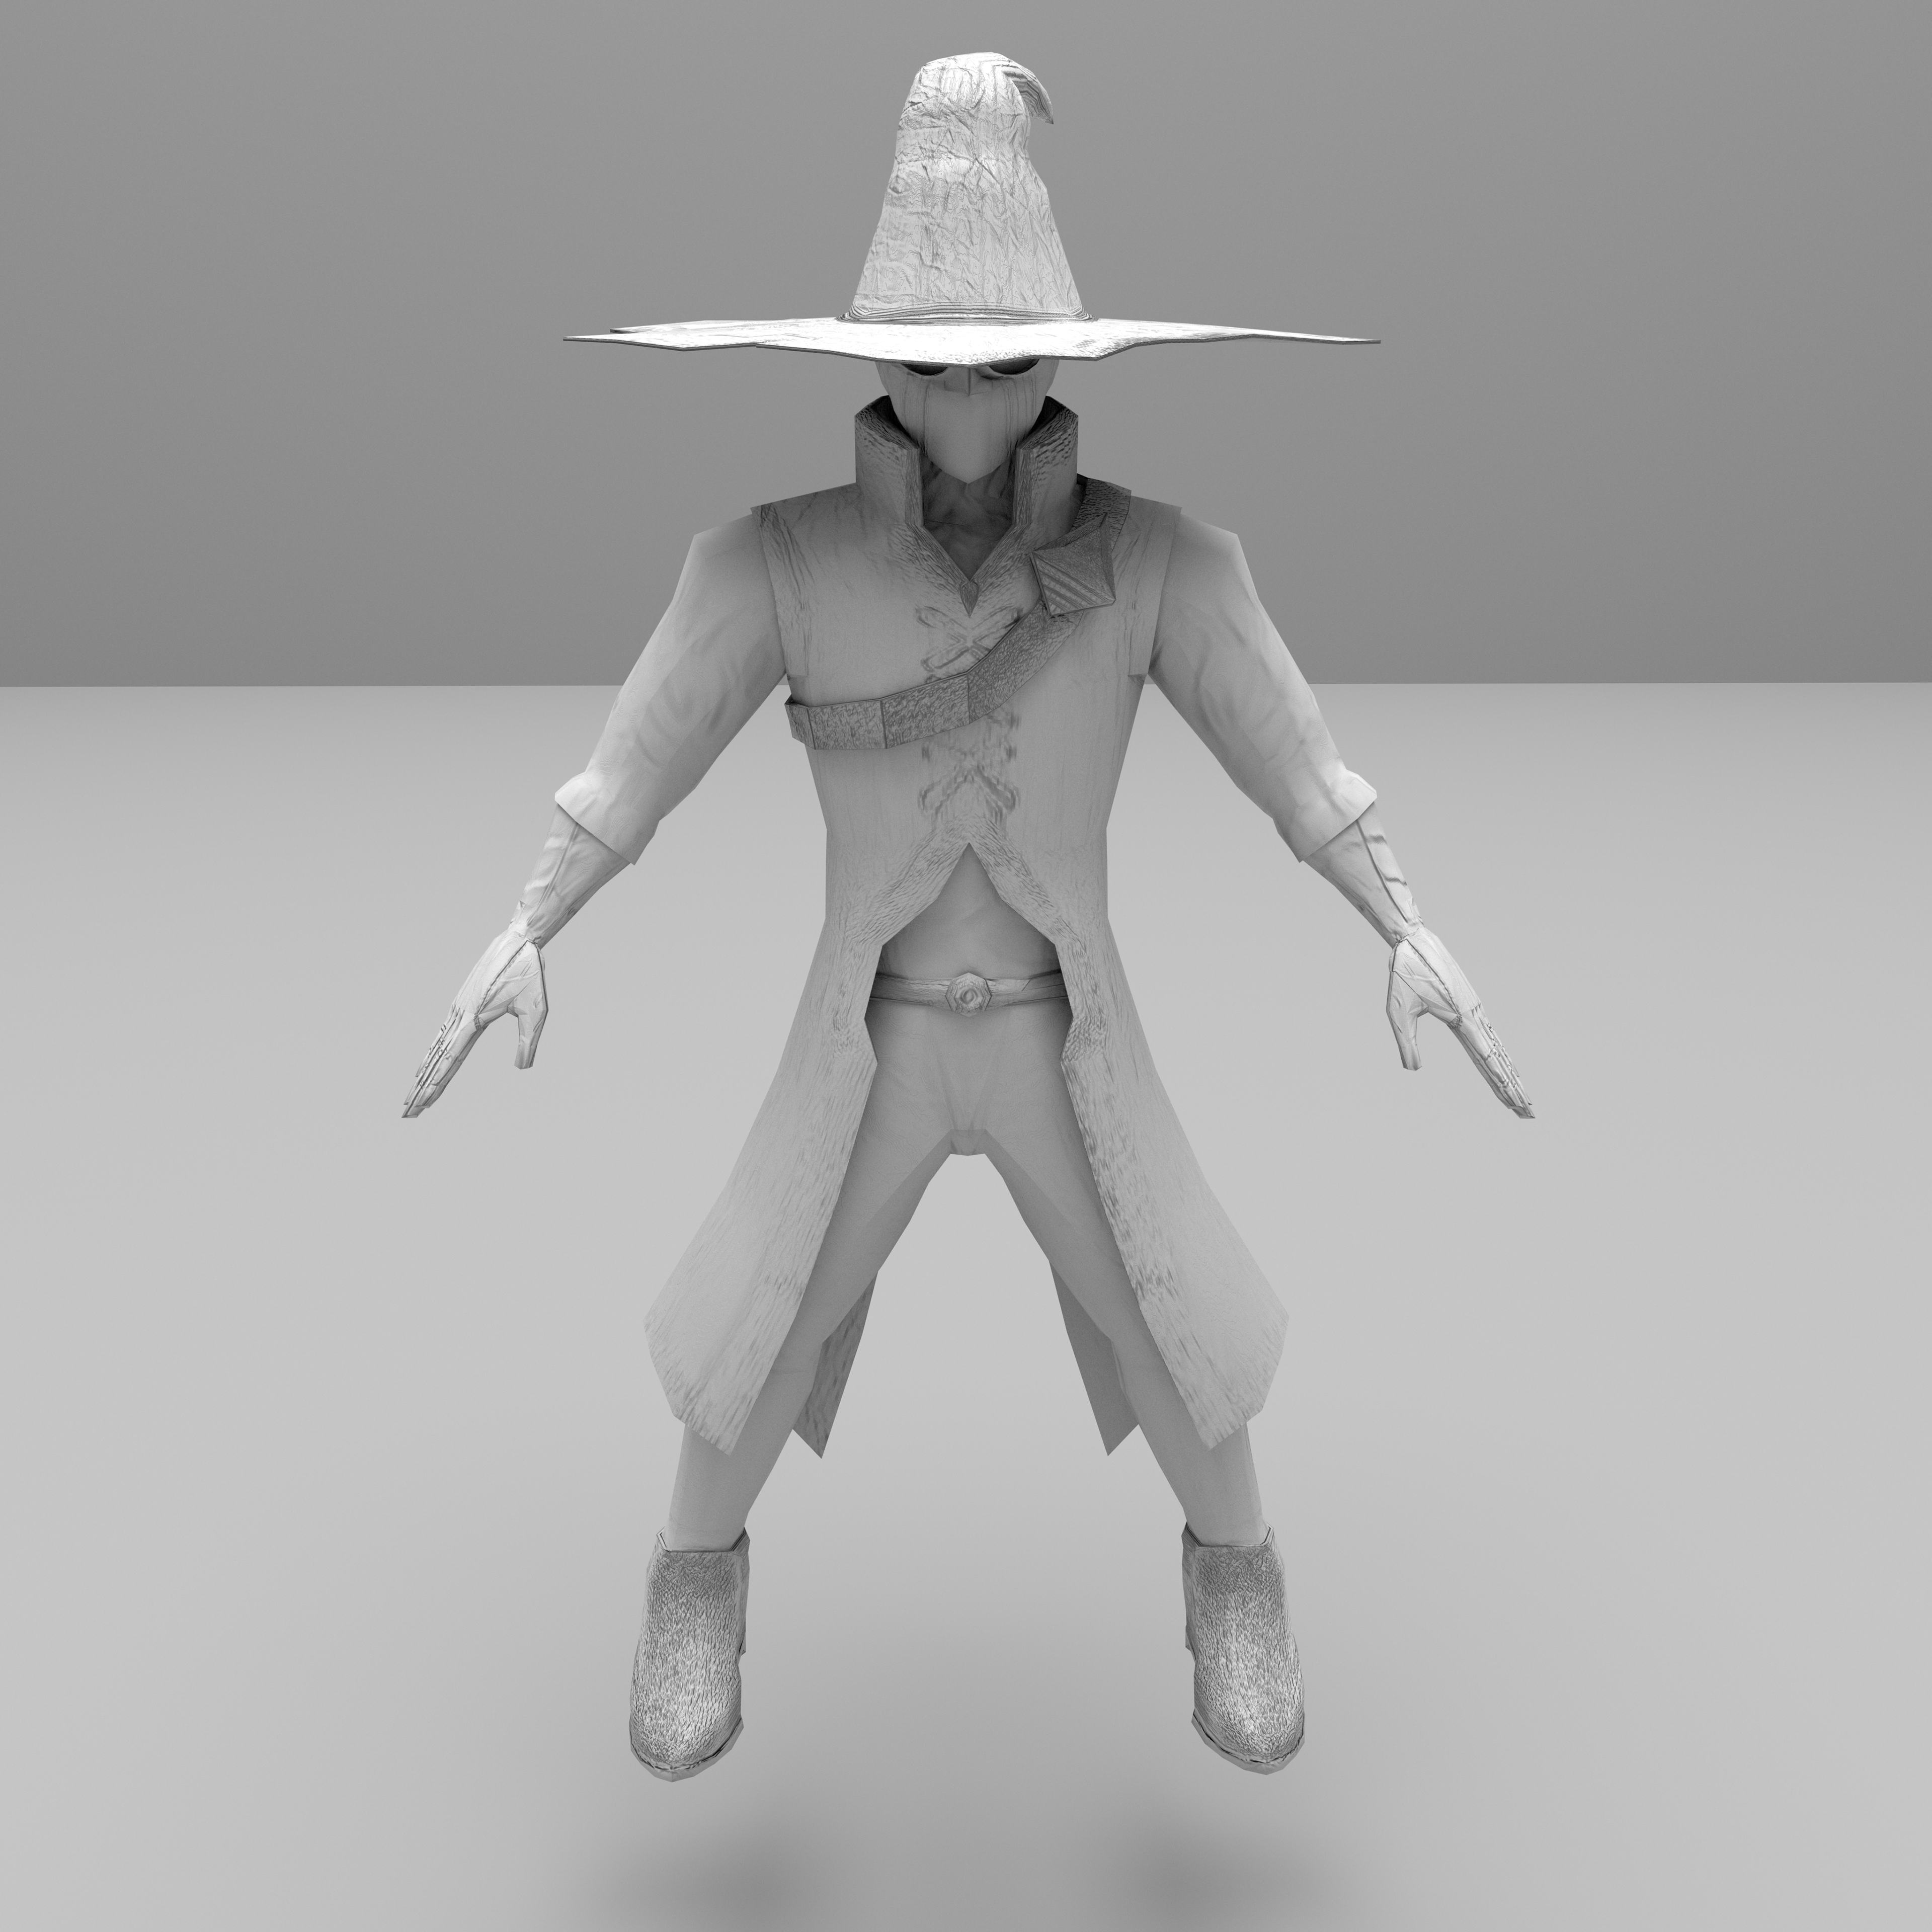
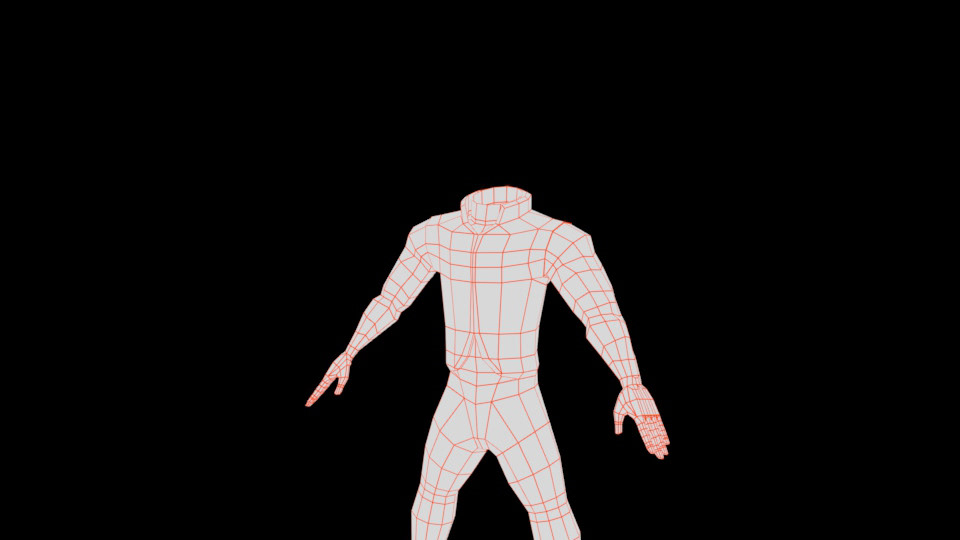
Here is the final render with the Normal map applied. Below the render without the Normal map.
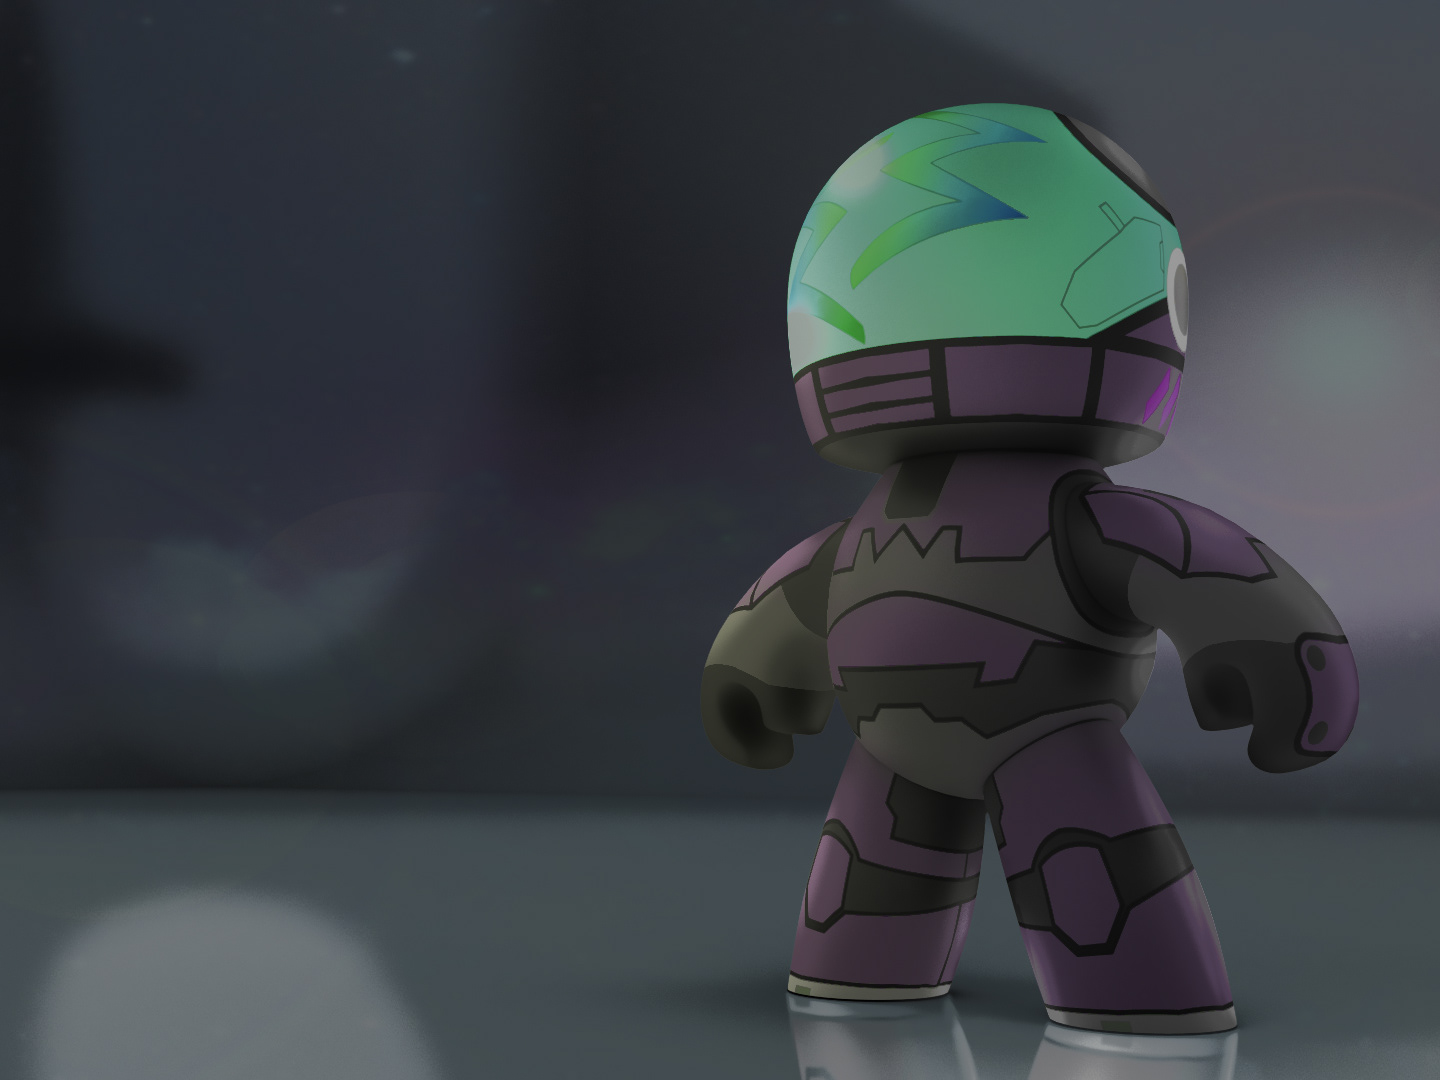
About one year has passed since I finished this project and I recently decided I wanted to re-visit it in order to practice texturing and rigging before applying those skills to future projects. Over the past week I have textured and rigged the entire model before posing it for a render. The renderer I know the best, Arnold, happens to not render normal maps correctly; So, as a result, I had to swap ray trace render programs. I chose Redshift since it allows for a free demo version. Below are some screenshots pertaining to the work along with the final render.


The Normal map in my Arnold render I did last year was being applied as a bump map, which is the reason the normals I sculpted in Mudbox were so pronounced. In the render below, the normal map is being treated as an object normal making it appear at the correct softness on the model.